
Getting Started
No More Room in Hell 2 Beginner Guide for Version 1.0
No More Room in Hell 2 beginner guide covering objectives, teamwork, inventory weight, infection, combat, extraction, respawns, and permadeath.
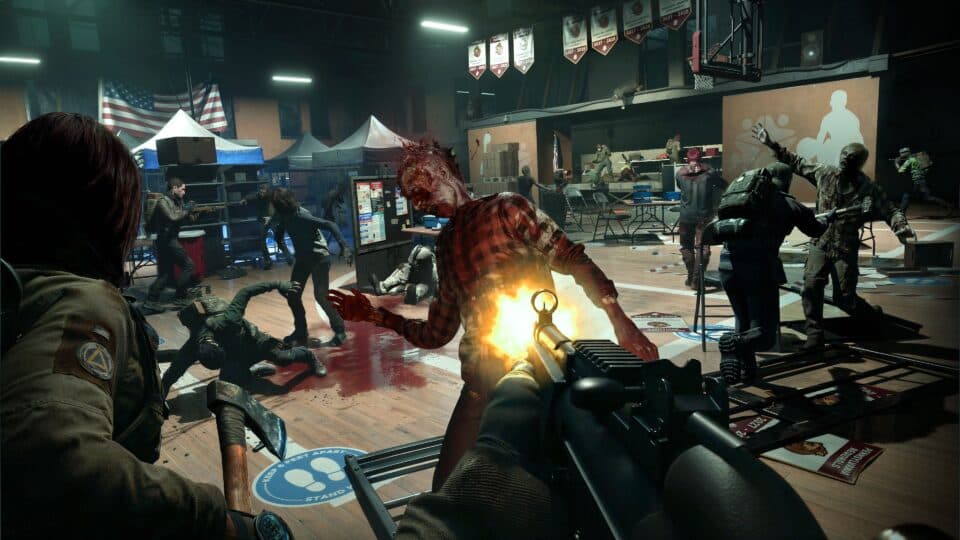 Official 1.0 Launch Trailer
Watch the Armageddon launch overview.
Watch on YouTubeThe short version
No More Room in Hell 2 is not a game about clearing every room. Your real job is to stay with the squad, preserve limited resources, complete the active objective, and reach extraction before infection or permanent death removes a developed Responder. Start on Beginner or Normal, learn the map objective flow, and treat ammunition as an emergency tool rather than your default answer.
The Armageddon 1.0 release supports up to eight players across PC, PlayStation 5, and Xbox Series X|S. It also adds Solo Training, but the full co-op loop remains the best place to learn communication, revival, shared resources, and extraction pressure.
1. Pick the right difficulty
Beginner is the safest environment for learning controls, objective icons, inventory management, and the shape of each mission. Normal starts to expose the character-progression loop while still allowing mistakes. Hard and Nightmare remove much of that safety: respawning is restricted or unavailable, special-zombie pressure increases, and losing a Responder can carry permanent consequences.
Do not select a high difficulty simply because the reward multiplier looks attractive. A successful lower-difficulty extraction teaches more than a failed Nightmare run where the squad separates in the opening minutes.
| Difficulty | Best use | Respawn mindset |
|---|---|---|
| Beginner | Controls, objectives, map learning | Frequent recovery opportunities |
| Normal | Progression and regular team play | Objective progress matters |
| Hard | Coordinated survival | Assume death can end the run |
| Nightmare | Experienced, organized squads | No rescue should be taken for granted |
2. Stay with the main group
The simplest survival rule is also the one new players break most often: stay close enough to help. Do not blindly chase the fastest player, but do not stop so long that the main group moves two buildings ahead. Check teammate markers before opening inventory, looting a side room, or interacting with a mission terminal.
The squad is more than extra damage. Teammates can share ammunition, carry treatment, draw a horde away from an objective, protect a player during an interaction, and revive a downed Responder when the current difficulty allows it. If you become infected, say it immediately. Another player may already have Phalanx or know where Gene Therapy spawned.
3. Follow the objective, not the kill count
Use the compass and the objective text to understand what the mission currently requires. Some zombies continue to enter an area while an objective is active. Standing in place to chase kills spends health, durability, and ammunition without necessarily moving the mission forward.
When the route is open, avoidance is often stronger than combat. Close doors, move around slow groups, and reserve loud firearms for runners, armored targets, specials, or moments when a teammate cannot disengage. The game does not reward tunnel vision.
4. Manage noise, ammunition, and weight
Firearms are powerful because they solve distant and high-pressure threats, but they create noise and consume inventory weight. Large calibers generally offer more damage and penetration at the cost of recoil, weight, and limited ammunition. A melee backup keeps routine enemies from draining the squad's magazines.
Do not pick up every item. Inventory space is a team resource. Keep what solves an expected problem: a practical melee weapon, appropriate ammunition, treatment, a light source, and mission-specific utility. If a found firearm is not worth carrying, unload useful ammunition when the game allows it instead of hauling dead weight.
5. Use light deliberately
Dark rooms hide loot and threats, but batteries are finite. Toggle the flashlight when entering an unlit area, searching containers, or checking a route; switch it off when the environment is already readable. With a two-handed weapon equipped, learn the control that swaps between the weapon and flashlight so you are not caught reorganizing equipment while a runner closes the gap.
Sound matters as much as vision. Listen for movement behind doors, special-zombie cues, and the cough or distorted audio that can signal infection.
6. Recognize infection early
Infection can present through coughing, visual distortion, voices, or changes to what the player hears. Treat these symptoms as a timer, not a cosmetic effect. Phalanx pills can delay the process, but the permanent solution described in the current material is Gene Therapy.
Tell the team, search medical locations together, and decide whether continued objectives are realistic. If no cure is available, an early extraction may protect the character, but it can also reduce supplies and experience. That tradeoff is better than silently turning in the middle of the squad.
7. Learn what extraction actually rewards
Successful extraction protects progress and converts the mission's earned supplies into useful account resources. Ordinary loot is not a permanent stash in the style of a traditional extraction shooter. Share ammunition and medical items during the run instead of hoarding objects that will not return as reusable inventory.
Do not trigger an early exit casually. Leaving before the team has completed enough work can produce little experience or supply value. Use early extraction when infection, isolation, low resources, or imminent death makes the original plan unrealistic.
8. Protect developed Responders
Responders maintain independent levels, Skills, loadouts, and exposure to permanent death. As a character becomes more valuable, plan more conservatively. A powerful build is not permission to separate from the squad; it is a reason to carry appropriate treatment, rescue tools, and an exit plan.
The Rescue Beacon introduced around the 1.0 progression changes can provide insurance against permanent loss under its current rules. Treat it as a limited safety mechanism, not a promise that every death is reversible.
Beginner mistakes to avoid
- Shooting single slow zombies before melee or avoidance has failed.
- Aiming at center mass in panic instead of taking controlled shots.
- Picking up everything and leaving no capacity for treatment or mission tools.
- Standing in infection gas, fire, deep water, or electrified water.
- Extracting early without understanding the reward loss.
- Fighting endlessly while an objective or escape route is available.
- Staying silent after infection symptoms appear.
- Assuming a high place or vehicle will remain safe from every zombie type.
Your first three-run plan
Run one: choose Beginner, follow the group, learn compass and objective markers, and extract even if the run is not efficient.
Run two: focus on inventory weight, noise, medical items, and the difference between enemies worth fighting and enemies worth avoiding.
Run three: select Normal with a basic loadout, communicate actively, and try to finish the mission while preserving the same Responder. After that, use the infection, extraction, and weapons guides to solve the specific problems that ended your weaker runs.